
You don’t need to know dozens of knots to sail. A handful, tied quickly and correctly, will do almost everything, and it matters far more that you can tie those few without thinking, in the dark and with cold hands, than that you know a hundred from a book. Learn them with a piece of rope in your hands: about two metres of old line is plenty.
Rope on a boat
On a boat, rope that has a job is a line, and most lines are named after their jobs. You met the most important ones in Chapter 1: the sheets that trim the sails, the halyards that hoist them, and the smaller control lines such as the outhaul, the cunningham, the kicker and the reefing lines. The lines that tie the boat to a pontoon or a pile are mooring lines, called bow and stern lines and springs by where they go (Chapter 8), and a heavy rope for mooring or towing is a warp. The rope on a dinghy’s bow is its painter.
A few more words describe the parts of a rope while you tie it. The standing part is the long part, the part that takes the load. The working end, or just the end, is the part you tie with. A bight is a U-shaped fold in the rope, and a loop is a bight whose sides cross. A turn takes the rope once round a rail, a post or another rope, and a round turn takes it round twice, so that it goes right round and comes back on the same side.
What rope is made of
Almost all rope on a modern yacht is synthetic. Each kind has its own job:
| Material | Like this | Used for |
|---|---|---|
| Polyester (Dacron) | Strong, stretches little, and stands up well to sunlight | Most sheets, halyards and control lines |
| Nylon | Strong, and stretches a lot, which absorbs snatching | Mooring lines, anchor rode and towing warps |
| HMPE (Dyneema, Spectra) | Very strong and hardly stretches at all, but slippery | Halyards and sheets on racing boats, and on many cruisers now |
| Polypropylene | Light, and floats, but weak and spoilt by sunlight | Throwing lines and dinghy painters |
Rope is made in two ways. Laid rope, usually three-strand, is twisted together like the rope in old pictures; it is cheap, easy to splice and is often used for mooring lines. Braided rope has a braided cover over a core, either braided too (braid-on-braid) or of parallel fibres; it is smooth on the hands, runs well through blocks and clutches, and is used for nearly all sheets and halyards. On a boat the size of ours the sheets and halyards are about 10 to 12 millimetres across.
Every knot weakens a rope, typically by a third to a half, because the rope is bent tightly where it goes into the knot. A rope that is chafed, stiff and faded from the sun, or has a damaged cover, is weaker still. Look along the sheets and halyards now and then, especially where they run through blocks and clutches, and turn mooring lines end for end, or replace them, before they wear through.
Looking after the ends
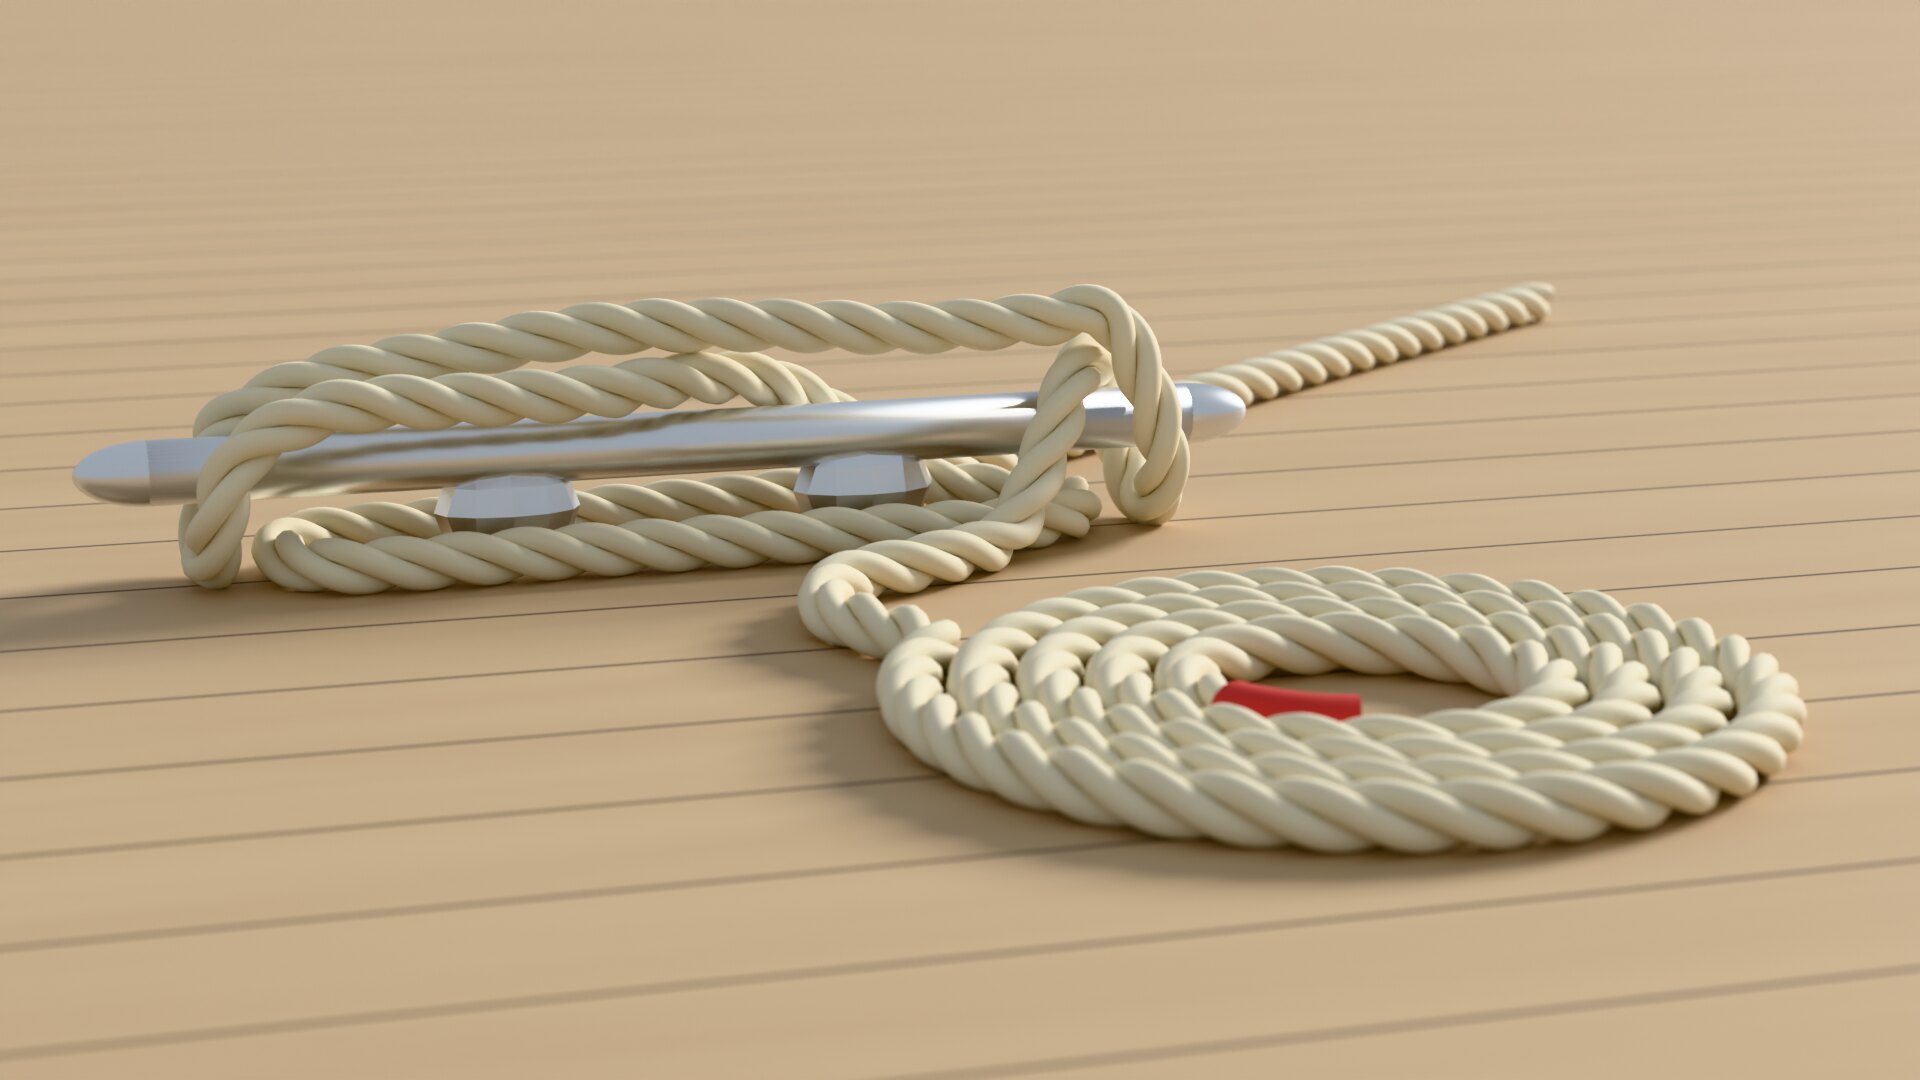
A cut end of rope unravels, so every end is sealed. On synthetic rope the simplest way is to melt it: rope shops cut it with a hot knife, which seals the end as it cuts, and you can do the same carefully with a lighter, rolling the soft end between wet fingers. Better still is a whipping, a few centimetres of strong waxed twine bound tightly round the end and stitched through the rope so it can’t slide off. A twist of tape will do for a day or two. The simulator’s knots workshop marks the working end of its rope with a red whipping.
Coiling and stowing
A line that is left in a heap on the cockpit floor will tangle, trip someone up, or go over the side and wrap round the propeller. Once a line is made fast, coil the spare rope (the tail) so it is ready to run again.
- Start at the end that is made fast, and work out towards the free end, so that any twist can run out of the end.
- Hold the coil in one hand and lay loops into it with the other, each about the same size, turning the rope slightly as you go so that it lies flat. Coil three-strand rope clockwise. Braided rope coils better in figure-of-eight loops, which don’t put a twist in it.
- To hang a halyard’s coil on its cleat, reach through the coil, take hold of the rope between the coil and the cleat, pull a bight of it back through the coil, give it a twist, and hang it over the top horn of the cleat.
- To stow a mooring line in a locker, finish the coil by wrapping the end a few times round its middle and tucking a bight of the end through the top of the coil.
A line that has to run out freely, such as an anchor rope or a sheet about to be let go, is better flaked than coiled: laid on the deck in loose zigzags or loops, with the end that will run out on top, so that it can’t tangle as it goes.
Heaving a line
Sometimes a line has to be thrown: to someone on a pontoon as you come in, to another boat for a tow, or to a person in the water. Coil it first, in loops about half a metre across, and make sure the end you are keeping is made fast or under your foot. Split the coil in two, keeping half in each hand, and throw the half in your throwing hand underarm and firmly, aiming a little beyond the person and slightly upwind of them, so that the rope falls across them; the half in your other hand runs out after it. Call their name, or “heads”, before you throw. If you miss, pull it back, coil it again and throw again: a hasty throw of a half-coiled line usually lands in a tangle short of the target. A throwing line in a bag is easier still: hold the end and throw the bag (Chapter 12).
Making fast to a cleat
A cleat is the fitting a line is most often made fast to: the horn cleats on the deck for the mooring lines, and the smaller ones on the mast and in the cockpit. The cleat hitch holds a line on one securely and can be undone quickly, even when it is under load.
- Lead the line to the far horn first, the one furthest from the load, and take a full turn right round the base of the cleat, under both horns. This turn takes the load, and lets you ease the line later without unwrapping it all.
- Take the line diagonally across the top of the cleat, round under the far horn, and diagonally back across the top: a figure of eight. One or two of these is enough.
- Finish with a locking hitch: twist a small loop into the line so that the end lies underneath, and drop the loop over the horn. Pull it snug, so that the end lies under the last diagonal.
Check it: the turns lie neatly side by side, with no turn crossing back over itself, and the end is trapped under the last diagonal. Its weakness: extra locking hitches add nothing and jam the line, so that it can’t be let go in a hurry. One is plenty, and on a sheet that may need to be let go fast, some sailors leave it off and finish with the figure of eight.
The knots to know
These seven knots, with the cleat hitch above, will do nearly everything on a yacht. The simulator’s knots lessons teach the cleat hitch and the first four of them step by step, in 3D. For each knot there is what it is for, how to tie it, how to check it, and its weakness: every knot has one.
| Knot | What it’s for |
|---|---|
| Figure-eight | A stopper in the end of a sheet or halyard |
| Bowline | A fixed loop in the end of a line |
| Round turn and two half hitches | Tying a line to a rail, ring or post, especially under load |
| Clove hitch | A quick, adjustable hitch for a while: a fender on a rail |
| Reef knot | Tying the two ends of a reefing tie or sail tie |
| Sheet bend | Joining two ropes, even of different sizes |
| Rolling hitch | Taking the load off a line, with a pull along it |
Figure-eight
A stopper knot in the end of every sheet and halyard stops it running out through its block, fairlead or clutch if it is let go. The figure-eight is the one to use: it is bulky enough to stop at a block, and it doesn’t jam, however hard it has been pulled.
- Make a loop near the end, passing the end over the standing part.
- Take the end round behind the standing part.
- Bring it back down through the loop, and pull both parts snug.
Check it: it looks like the figure 8, with the end coming out alongside the standing part. Its weakness: a loosely tied one can shake out of a flogging sheet, so pull it snug and leave a tail a hand’s width long. Some racing crews leave the stoppers off the spinnaker sheets, so that the sail can be let go completely in an emergency.
Bowline
The bowline (said “bo-lin”) makes a loop in the end of a line that won’t slip or jam, and that unties easily even after a heavy load. Use it to put a loop over a bollard or a post, to tie a sheet to the clew of a sail, or to tie a line round something.
- Make a small loop in the standing part, with the part that leads to the end lying on top.
- Leave the size of big loop you want, then bring the end up through the small loop from underneath.
- Take the end round behind the standing part.
- Bring it back down through the small loop, beside itself.
- Hold the end against the side of the big loop, and pull the standing part to set the knot.
Check it: the end finishes inside the big loop, lying beside the side of the loop it came up on, and makes a collar round the standing part. If the end finishes outside the loop the knot is weaker; untie it and start again. Its weakness: a bowline can shake loose when it isn’t loaded, on a flogging sheet for instance, so leave a long tail. It can’t be untied while it’s under load.
Round turn and two half hitches
This is the hitch for tying a line to a rail, a ring or a post, especially when it is already under load: a dinghy’s painter to a ring on a wharf, a mooring line to a ring, a line to a guardrail. The round turn takes the load by friction, so you can hold a heavy pull with one hand while you tie the hitches with the other, and you can untie it under load and ease the line out under control.
- Take the end round the rail or post twice, so that it comes back on the same side: a round turn.
- Bring the end back beside the standing part, take it round behind the standing part and back over it, and tuck it under its own part where it came in: a half hitch.
- Make a second half hitch beside the first, further from the rail, the same way round.
- Slide the two hitches up against the round turn and pull them snug.
Check it: both half hitches go the same way round; together they make a clove hitch round the standing part. If they go opposite ways, they make a weaker knot that can slip. Its weakness: few, as long as the hitches are snug and there are two of them.
Clove hitch
The clove hitch is quick to tie and easy to adjust, which makes it the usual way to hang a fender from a guardrail, and a handy temporary hitch round a pile or post.
- Take the end round the rail or pile.
- Cross it over the standing part and take it round again.
- Tuck the end under the second turn, so that it comes out under the diagonal, in the opposite direction from the standing part.
Check it: the diagonal lies over both ends, which come out from under it in opposite directions; on the other side of the rail are two turns side by side. Its weakness: don’t trust a clove hitch on its own for anything that matters. When the pull keeps changing direction, as it does on a boat moving against a pile, or when the rope can roll round a smooth rail, it can work itself loose and slide off. If it is to be left, add a half hitch or two round the standing part, and check fenders tied with clove hitches now and then.
Reef knot
The reef knot ties the two ends of the same piece of line together round something: the reefing ties round the bundle of sail along the boom (Chapter 10), the sail ties round a furled mainsail, the neck of a sail bag. It lies flat, and it is easy to untie: pull one end back along its own part and the knot falls apart.
- Take the left end over the right end and under it.
- Take what is now the right end over the left and under it.
- Pull it snug: each end comes out alongside its own standing part.
Check it: it lies flat and neat, with each end beside its own part, both on the same side of the knot. If the ends stick out at an angle across the knot, it is a granny knot, which slips or jams: untie it and tie the second half the other way round. Its weakness: because it falls apart so easily, a reef knot must never be used to join two ropes, and especially not two of different sizes or materials. Under load, or if one end is snagged, it capsizes and pulls out. To join two ropes, use a sheet bend.
Sheet bend
The sheet bend joins two ropes, and it works even when they are different sizes. Its name comes from tying a sheet to the corner of a sail.
- Make a bight in the end of the thicker rope (or either rope, if they are the same size).
- Bring the end of the thinner rope up through the bight from underneath.
- Take it round behind both parts of the bight.
- Tuck it under itself, across the front of the bight, and pull both ropes to tighten it.
For a double sheet bend, once the end is tucked, take it round behind the bight a second time and tuck it under itself again, beside the first tuck. Use the double when the ropes are very different in size, when the rope is slippery, or when the knot will be shaken about without a load on it.
Check it: the two short ends come out on the same side of the knot. If they are on opposite sides it is weaker; tie it again. Its weakness: like the bowline, it can shake loose when it isn’t loaded, so leave long tails.
Rolling hitch
The rolling hitch grips another rope, a pole or a rail, and holds against a pull along it. Its most common job on a yacht is to take the load off a line that is jammed, such as a sheet with a riding turn on its winch (one turn trapped under another, so the winch can’t ease it): tie a rolling hitch round the loaded sheet with a spare line, lead the spare line to another winch, wind in until it takes the load, and then clear the jam.
- Take the end round the rope, crossing over the line’s standing part.
- Take a second turn beside the first, also crossing over the standing part and working towards the side the line will pull.
- Take the end over to the other side of the turns and finish with a half hitch, tucked under itself.
- Pull it snug, then load it: it should grip, not slide.
Check it: the two crossing turns are on the side the line pulls towards. If they are on the other side, the hitch slides as soon as it takes the load. Its weakness: on a slippery rope, such as a modern HMPE sheet, it can slide; add another turn or two, and watch it as the load comes on.
Check yourself
Answer each one from memory before you look at the answer; recalling it is what fixes it in your mind. Tap an answer to check it.
-
What is a figure-eight knot used for on board?
Try it in the simKnots: figure-eight, cleat hitch, bowlineShow the answer
A. A stopper in the end of a sheet, so it can’t run out through its block. Tie one in the tail of every sheet so it can’t pull out through its block or fairlead.
-
Making a line fast on a cleat, where does it go first?
Try it in the simKnots: figure-eight, cleat hitch, bowlineShow the answer
B. Round the far horn, then a full turn round the base. Lead the line to the far horn, the one furthest from the load, and take a full turn round the base. That turn takes the load; a figure of eight and one locking hitch hold it there.
-
Which knot makes a fixed loop that won’t slip or jam, and unties easily?
Try it in the simKnots: figure-eight, cleat hitch, bowlineShow the answer
C. A bowline. The bowline: for a loop over a post, or on the clew of a sail. It unties easily even after a heavy load.
-
A clove hitch is quick to tie. What is its weakness?
Try it in the simKnots: round turn and two half hitches, clove hitchShow the answer
D. It can slip or work loose when the load comes and goes. Fine for a fender for a while; for anything that matters, finish it with a half hitch or use another knot.